
Last updated November 16, 2026
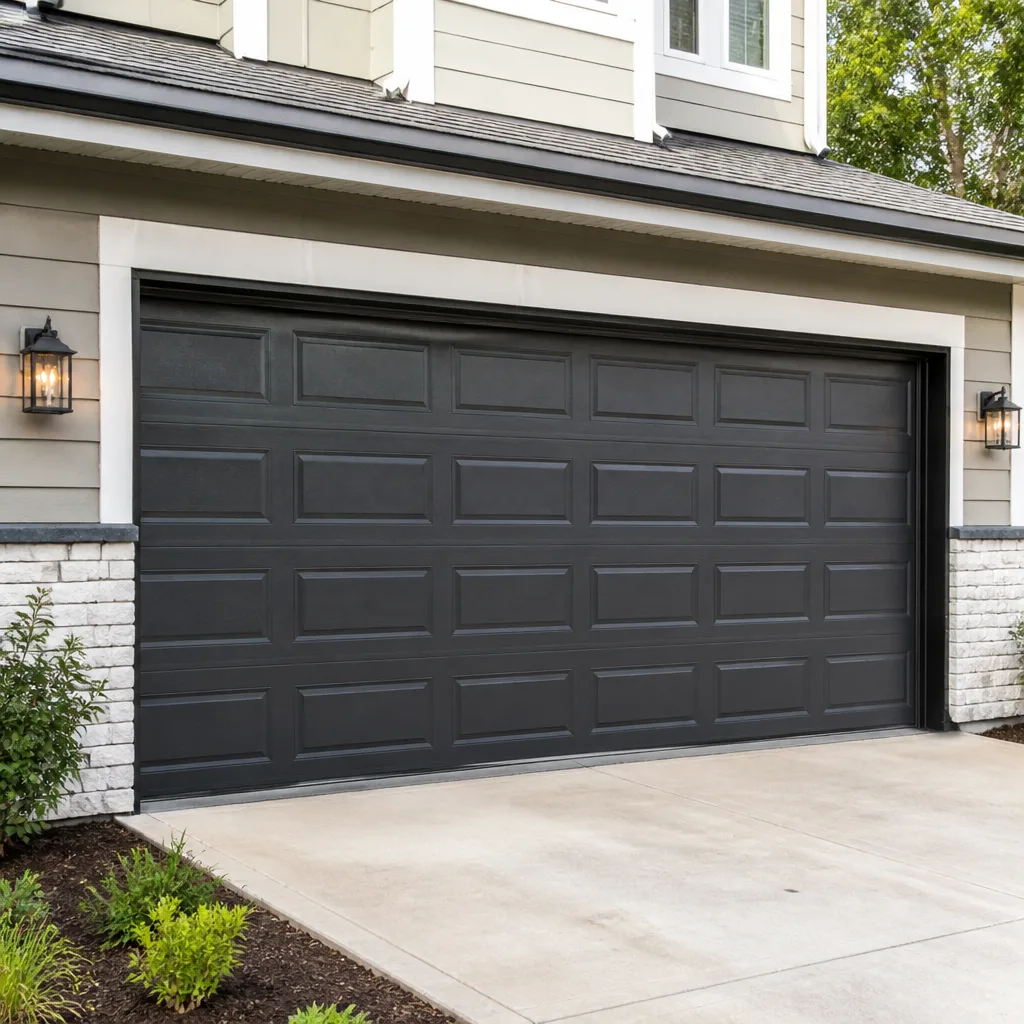 Raised-panel steel
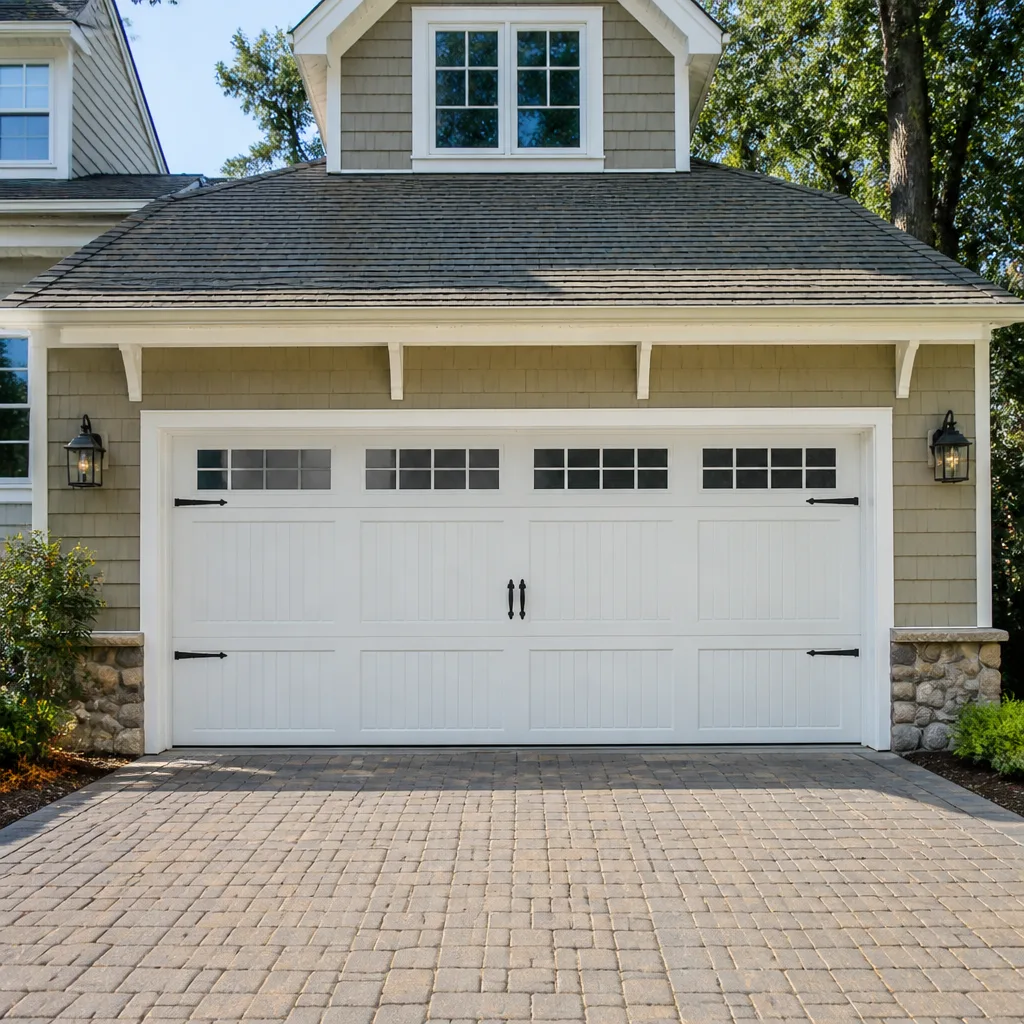 Carriage house
 Modern flush
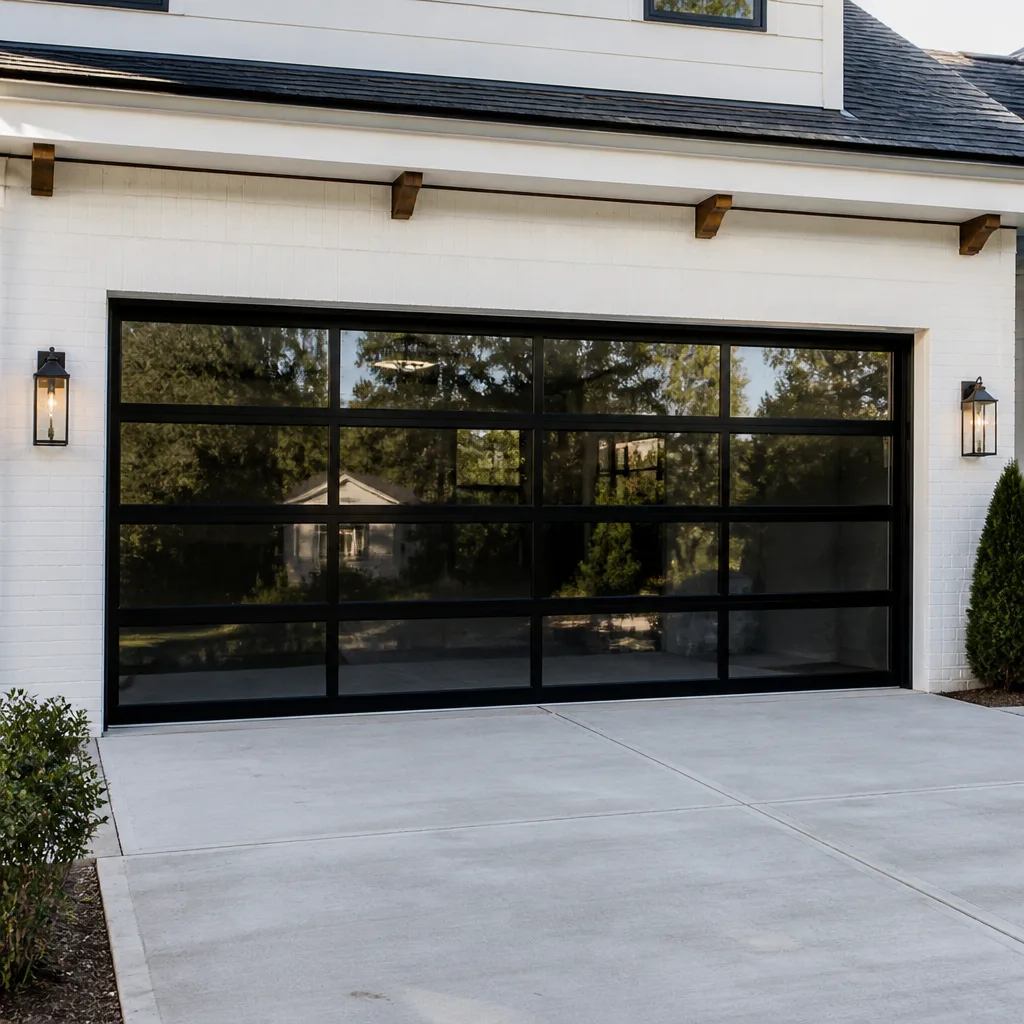 Full-view glass
 LiftMaster openers
 Chamberlain openers
Full 25-point door and opener safety check with every visit - springs, cables, rollers, tracks, and your LiftMaster or Chamberlain opener included
You get a price before we start. It does not change when the pro arrives.
Get your free estimateGarage Door Repair Maintenance Checklist for Rockford Homeowners
The most common reason a garage door wears out early isn’t age or cheap parts. It’s lubrication applied to the wrong components. Oil on a nylon roller or a rubber bottom seal attracts grit and accelerates the wear a homeowner was trying to prevent, and it can quietly shorten the life of a door that would otherwise run smoothly for years. We’ve seen this pattern enough times in Rockford to know it’s worth building a checklist around the parts that actually fail. This guide goes part by part: what each component does, what failure looks like, what you can safely handle yourself, and where the line sits between maintenance and a service call.
Quick Answer
A working garage door maintenance checklist covers five things: lubricating the right components (rollers, hinges, springs and track with the proper product, and nothing on the panels or the bottom seal), testing the balance and the photo eyes, checking the cable drums and bottom brackets by eye, keeping the track clear, and running the opener’s force-sensitivity test every fall. Most of it takes fifteen minutes and a can of white lithium grease. The high-tension parts – springs, cables, bottom brackets – get looked at, never touched.
Styles & brands we work with
- Raised-panel steel
- Carriage house
- Modern flush
- Full-view glass
- LiftMaster openers
- Chamberlain openers
Table of Contents
- Which Components to Lubricate and Which to Leave Dry
- The 30-Second Balance Test That Reveals Spring Wear
- Inspecting Cable Drums and Bottom Brackets Without Touching Them
- How Rockford Winters Change Your Maintenance Schedule
- Why Your Door Needs a Force-Sensitivity Recalibration Every Fall
- Testing the Photo Eye and the Reverse-On-Contact Feature
- A Monthly and Annual Schedule You Can Actually Keep
- The Stop-and-Call-a-Pro Line for Every Checklist Item
Which Components to Lubricate and Which to Leave Dry
The rollers, hinges, bearings and springs need grease. The panels, the bottom weather seal, the photo-eye lenses and the opener’s belt or chain do not. Getting that split right is the single biggest thing a homeowner can do for the health of a door. Do it wrong and you spend the next season cleaning gunk out of the tracks.
Use a white lithium grease or a dedicated garage door lubricant on metal-to-metal contact points. A silicone-based spray is a reasonable alternative on hinges and bearings in cold weather. Here’s the component-by-component breakdown we walk homeowners through on a Bramble Garage Door Repair visit, and it’s the same list we’d suggest you follow yourself:
- Rollers: A drop of lubricant on the roller stem each is enough. Nylon rollers need less than steel ones – a light touch, not a soaking.
- Hinges: Every hinge on the door gets a small amount at the pivot points, top to bottom.
- Springs: Torsion springs get a light coat along the coil to reduce friction. Extension springs get it on the open coil. This is lubrication only, never adjustment.
- Track: A wipe-down with a damp cloth, not a greased rail. Grease collects grit and the rollers start grinding.
- Panels and bottom seal: Keep them dry and clean. A vinyl or rubber seal that’s been greased will grab dirt and stop sealing properly. A water-based silicone protectant on the rubber edge is fine.
- Opener rail: Belt-driven openers need no lubrication at all. Chain-driven openers get a light chain lubricant, applied sparingly, wiped after.
- Photo eyes: Wiped clean with a dry cloth. Never sprayed.
If you own a Chamberlain or Genie opener, check its manual for the manufacturer’s rail guidance – belt and chain drives differ, and it’s worth confirming before you reach for a can. Lubrication should happen about every six to twelve months depending on use, and more often on doors that cycle ten or fifteen times a day. That alone puts a lot of Rockford households into the “twice a year” bracket.
The 30-Second Balance Test That Reveals Spring Wear
A balanced door stays where you leave it, halfway up. An unbalanced door drops, and that drop is the earliest outward sign that a spring has lost tension and is heading toward failure. The test takes about thirty seconds and requires no tools if your opener has a manual release cord.
Here’s the sequence we suggest every homeowner learn:
- Close the door and pull the manual release cord to disconnect the opener. The door is now on spring tension alone.
- Lift the door by hand to about halfway up. Use the handle or bottom edge, not the panels.
- Let go gently. A healthy door holds its position.
- If it drops, the springs are losing tension. If it rises, they’ve been over-tensioned. Either way, don’t reconnect and keep running it.
- Test the door by hand through its full open and close travel – it should move with steady resistance and no catching. Then reconnect the opener and push the button once to reset the connection.
- Repeat once a month. Note the direction of any drift. A door that held last month and drops this month is telling you something.
Two rules apply. Never touch the springs themselves to adjust tension. Even a door that looks like it’s lost most of its tension still holds serious stored energy, and only a trained technician should work on it. And second, don’t run the opener on an unbalanced door. The opener isn’t designed to carry the door’s weight and the extra strain shows up in the motor or the drive gear first. If the balance test keeps failing, that’s a call.
Inspecting Cable Drums and Bottom Brackets Without Touching Them
You can check the cable drums and the bottom brackets visually, from a safe distance, with no tools in your hand. What you’re looking for is wear, not performance. This is one of the checklist items most worth learning, because the parts involved carry the full stored tension of the door and any adjustment is a job for a trained technician. Your job is spotting, not fixing.
At the top of the door, the cable drums are the alloy or steel spools the lift cables wind onto. Look for three things: a cable that has jumped off the drum and sits outside its groove, a drum that’s visibly loose or out of line with the other, and any bent or gouged edge on the drum itself. Each of those is a stop condition. Don’t try to reseat the cable.
At the bottom of the door, the bottom brackets are the L-shaped metal plates at the corners that anchor the lift cable to the door. Look for cracked welds, rust holes, or a cable that has frayed at the ferrule where it meets the bracket. Cables fray from the inside out, so a single broken strand at the bracket is a sign the cable is done.
Also run your eyes along the full length of both cables. You’re looking for a snapped strand, a kink, or a section that has gone slack. A slack cable on one side means the tension has shifted off balance, and the drum is about to give you trouble. All of that is the point to stop and call. The safety caveat is simple: springs, cables, drums and bottom brackets all sit under high tension, and releasing that tension incorrectly can cause serious injury. Leave the tools in the drawer and let a technician handle it.
How Rockford Winters Change Your Maintenance Schedule
The freeze-thaw cycle here does the most damage to a garage door in late winter and early spring, not mid-winter. That’s when the ice that built up on the bottom seal and the floor joint melts, refreezes overnight, and starts prying the door out of alignment. It’s why we tell Rockford homeowners to look at their door in late February and early March, not just in October.
The parts that take the hit in a Rockford winter:
- Bottom weather seal: The rubber or vinyl sweep along the bottom edge hardens in cold and takes the brunt of ice. A brittle seal that’s cracking at the lip will let meltwater track along the floor and into the garage.
- Rollers and hinges: Cold thickens old grease into a paste. A roller that rolled freely in September will drag in January if it was never lubricated properly.
- Tracks: Ice and grit fall from car tires and settle in the track, and a grain of road grit in a roller will score the track for good.
- Springs: Metal contracts in cold. A spring that was marginally tensioned in October often shows it by the first cold snap.
Autumn is the time to do the bigger jobs. Clean the track with a brush and a damp cloth. Lubricate the rollers, hinges, bearings and springs with a cold-rated grease. Check the seal along the bottom edge and replace it if it’s hard or cracked. Confirm the door isn’t dragging on the ground, and adjust the opener’s force setting (more on that next). Also clear leaves and grit from the gap between the door and the garage floor before they freeze in. If your door is a Clopay or Amarr model with a rubber perimeter seal, check the seal joints as well as the bottom edge – those joints open up in cold weather and are easy to miss.
Why Your Door Needs a Force-Sensitivity Recalibration Every Fall
Force sensitivity is the opener’s setting for how hard it pushes before it decides the door is blocked and reverses. It’s set at installation, and it slowly drifts as the door’s mechanical resistance changes. Cold weather increases that resistance, which is why we suggest checking it every fall and again in early spring.
If you own a LiftMaster or a Craftsman opener, the setting is usually adjusted with a small screw on the back or side of the motor head, labeled “force” or “sensitivity.” Some newer models have a button-based setup accessible through the control panel. The exact procedure varies by model, so it’s worth finding your manual – the opener manufacturers are specific about this for a reason.
The test itself is simple. Place a two-by-four flat on the floor in the door’s path. Close the door with the opener. When the door meets the board, it should reverse within about two seconds. If it stalls against the board or fights it, the setting is too high and needs to come down.
Do not use your hand or your body as the test object. And don’t over-loosen the setting – a door that reverses on a slight puff of wind will frustrate you all winter. If your opener is older and the setting won’t hold, or if it’s an unknown brand we don’t work on, that’s the point to call. We’ll check both the opener and the door, because a force-sensitivity problem is often a door problem the opener is trying to tell you about.
Testing the Photo Eye and the Reverse-On-Contact Feature
The photo eyes are the two small lenses at the bottom of the track, on either side of the door. They should be aimed at each other, level with one another, and clear of obstruction. A door that closes partway and reverses for no apparent reason is almost always reporting a photo-eye problem. In our experience, it’s the single most common service call a garage door company gets in Rockford – and most of the time it’s resolved by cleaning the lenses and re-aiming them, not by replacing anything.
Test them once a month with the door in the middle of its travel:
- Start the door closing and pass a broom handle or a cardboard box through the beam between the eyes.
- The door should reverse immediately. If it continues closing, stop the door and call – the safety feature is not working.
- Wipe both lenses with a dry cloth. Grit, cobwebs and dust are the usual culprits.
- Look for a small indicator light on each eye. If one is dark, check that the two are lined up facing each other and not knocked out of position.
- Check that nothing – a snow shovel, a recycling bin, a bag of ice melt – is stored in the beam’s path.
The photo-eye check and the force-sensitivity test work together. They’re the two features that make an opener safe to use, and neither one should be trusted on the assumption that it worked last month. If either test fails twice in a row, that’s the stop line. The opener is doing the job it was designed to do, but its internal relay or its circuit board has a problem, and that’s the point a garage door opener repair call becomes the right answer.
A Monthly and Annual Schedule You Can Actually Keep
A checklist you don’t follow is a list, not a habit. This schedule is what we suggest for a Rockford homeowner who wants to catch problems before they get expensive, and it’s structured so the monthly items take a few minutes and the annual items take an afternoon.
Once a month:
- Run the photo-eye test with a box or broom handle.
- Run the balance test on manual release.
- Wipe the photo-eye lenses and the track with a dry cloth.
- Look along the cables and bottom brackets for fraying or cracks.
- Listen at the open and close. Grinding, squealing or a knock are all worth noting.
Twice a year (spring and fall):
- Lubricate rollers, hinges, bearings and springs with white lithium or a garage-door-specific lubricant.
- Wipe and inspect the bottom seal for splits and hardening.
- Check the door’s travel – does it close fully against the floor without a gap?
Once a year (fall is best in Rockford):
- Run the force-sensitivity test and adjust the opener setting if the door doesn’t reverse within about two seconds.
- Check the hardware – every hinge and bracket bolt – for looseness. Tighten with a hand tool, not a power driver.
- Look at the springs. If you see rust, separation between coils, or a visible gap in a torsion spring, that’s a replacement, not maintenance.
- Clear the floor gap, the track and the opener housing.
If the door needs anything beyond lubrication and testing, the fuller rundown on Rockford service is a good next stop. The annual review is also a sensible time to check whether a repair makes more sense than a replacement – most door problems don’t call for a full replacement, and we’ll tell you honestly which side of that line you’re on.
The Stop-and-Call-a-Pro Line for Every Checklist Item
Every component on this checklist has a point where it stops being a homeowner job and starts being a service call. Knowing that line is what keeps a minor maintenance issue from becoming a dangerous one.
- Lubrication: Stop as soon as you’re handling a spring or a cable to get to it. If it’s not accessible without touching the high-tension hardware, it’s a service call.
- Balance test: Stop if the door drops or rises consistently. A door that won’t hold halfway is a spring problem, not a lubrication problem.
- Cable drums: Stop at the first sign of a cable off a drum, a bent drum or a frayed cable. Those are always a call.
- Bottom brackets: Stop at the first crack, weld separation or rust hole. Never adjust a bottom bracket.
- Force sensitivity: Stop if the setting doesn’t hold, or if the opener hesitates on the door near the top or bottom of travel. That can be an opener fault or a door fault – we’ll tell you which.
- Photo eyes: Stop if the door won’t reverse on the beam. That’s a safety failure, not a nuisance.
- Track: Stop if the door is binding, if the track is visibly bent, or if it’s come loose from the wall or ceiling.
For anything on that list, don’t keep running the door waiting for the weather to warm up. Running a door with a failing spring or a frayed cable loads the rest of the system, and the repair costs go up from there.
Common Mistakes to Avoid
- Greasing the track. It’s the mistake we see most often. Grease collects grit and turns the track into a grinding paste. The track gets wiped, not lubricated.
- Spraying the bottom seal. A greased rubber seal grabs dirt and stops sealing. Keep it dry, and use a water-based silicone protectant on the rubber if it’s hardening.
- Using WD-40 as a lubricant. It’s a solvent, not a grease. It’ll clean a hinge and then leave it drier than before. Use white lithium or a dedicated garage door lubricant.
- Not testing on manual release. If you only test the door with the opener attached, the opener masks the balance problem. The manual release is where the truth is.
- Adjusting the force setting with a wrench and a guess. Each opener brand has a set procedure. Read the manual – the LiftMaster and Genie protocols differ, and both differ from what a Chamberlain user will find.
- Touching the springs. Never adjust spring tension yourself. Stored energy in a torsion spring can cause serious injury, and a door that isn’t correctly tensioned is one that can come down hard.
- Ignoring a winter drag. A door that starts dragging on the seal in December in Rockford is often the first sign of a tired spring. It’s not the door being stubborn. Get it checked before the spring fails.
- Storing things in the photo-eye path. Snow shovels, bins, bags of ice melt. A door that reverses unexpectedly in January is often just reporting an obstruction.
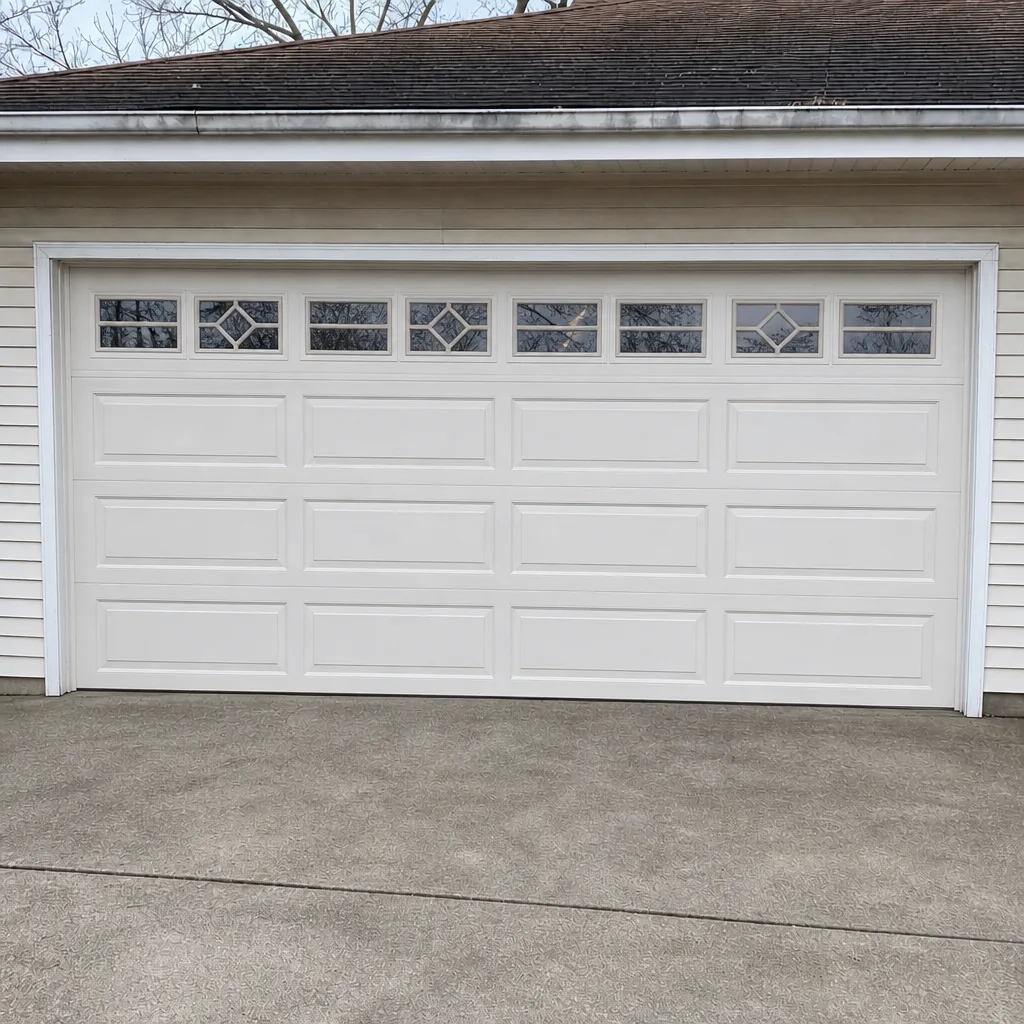
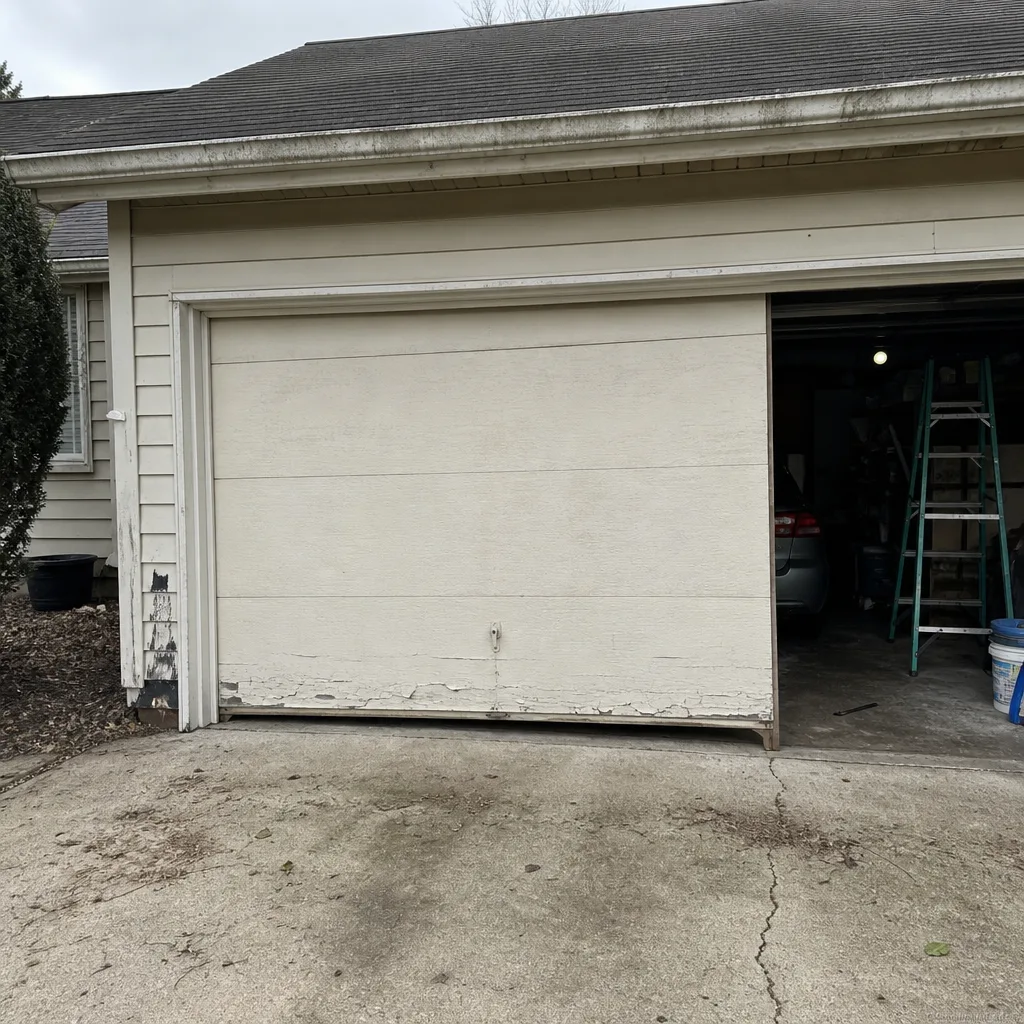
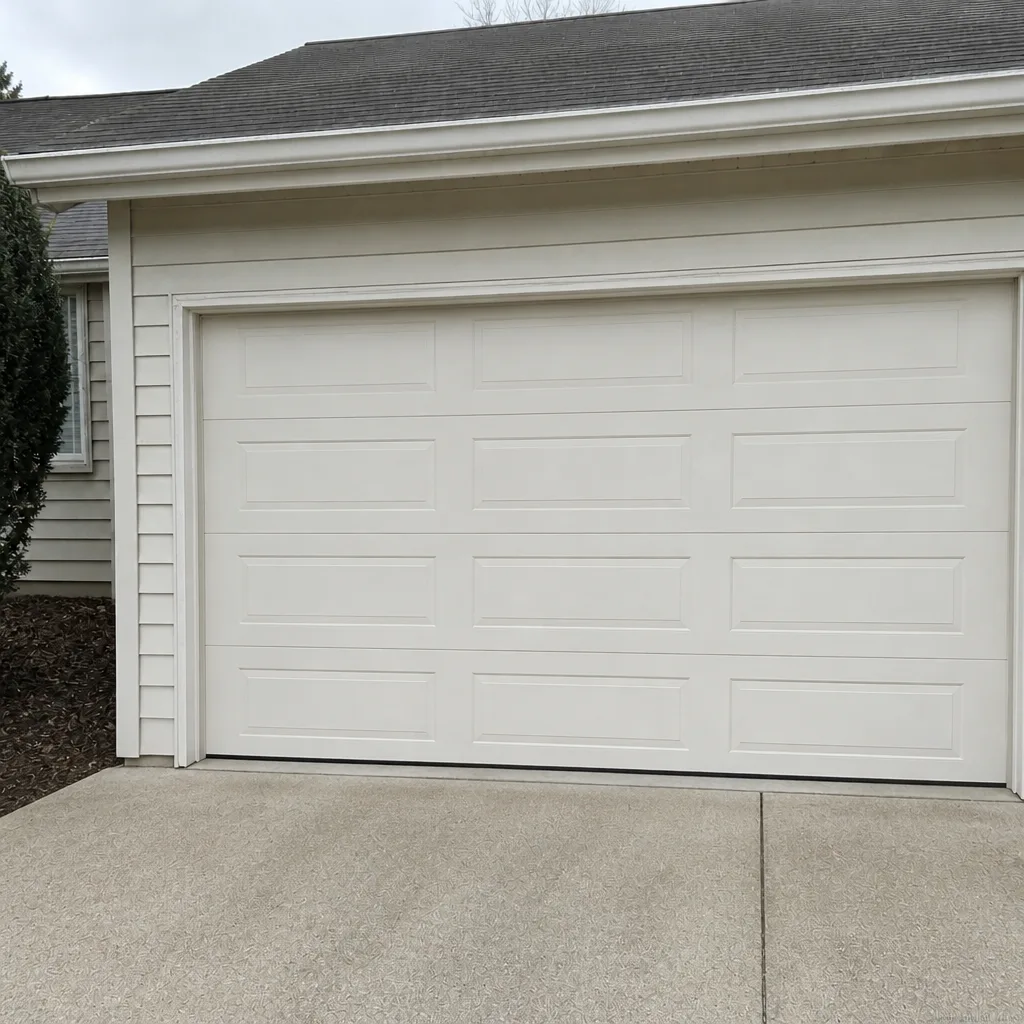
See the difference
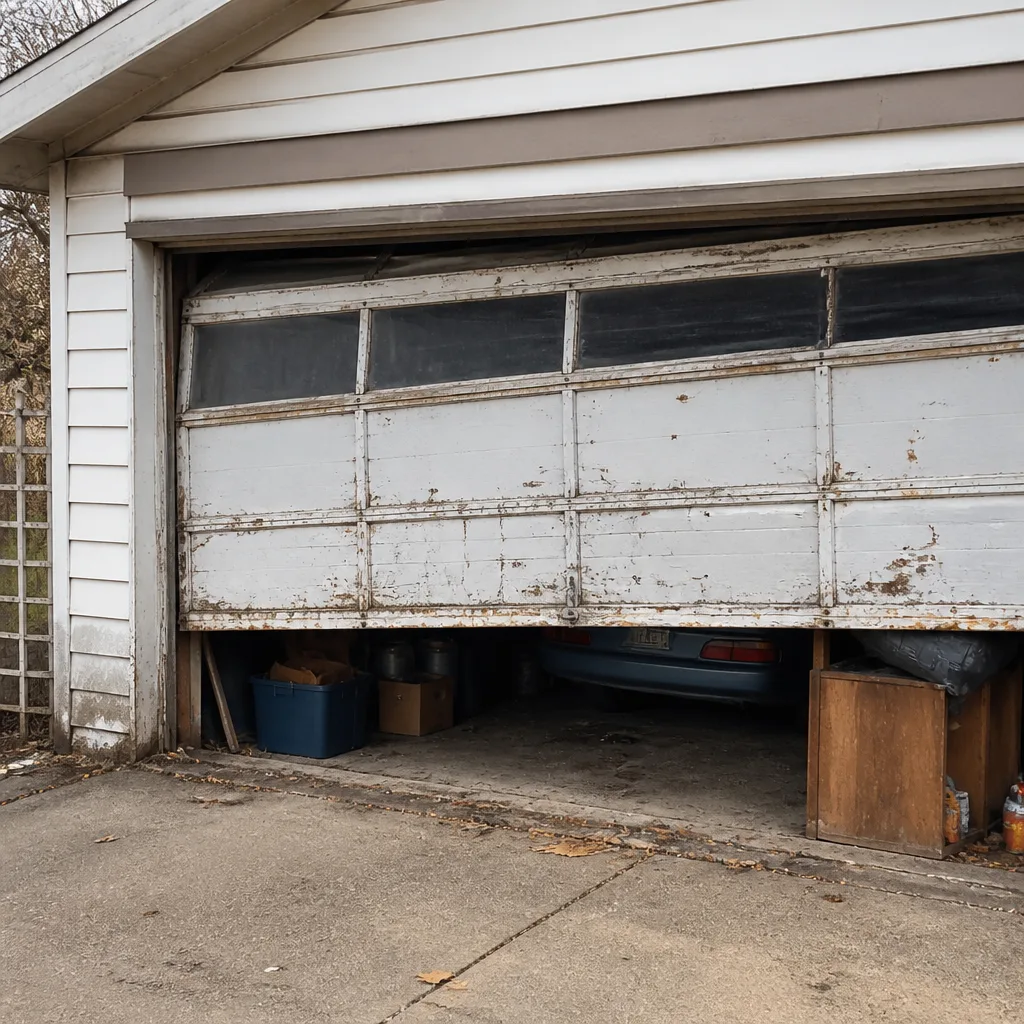 Before
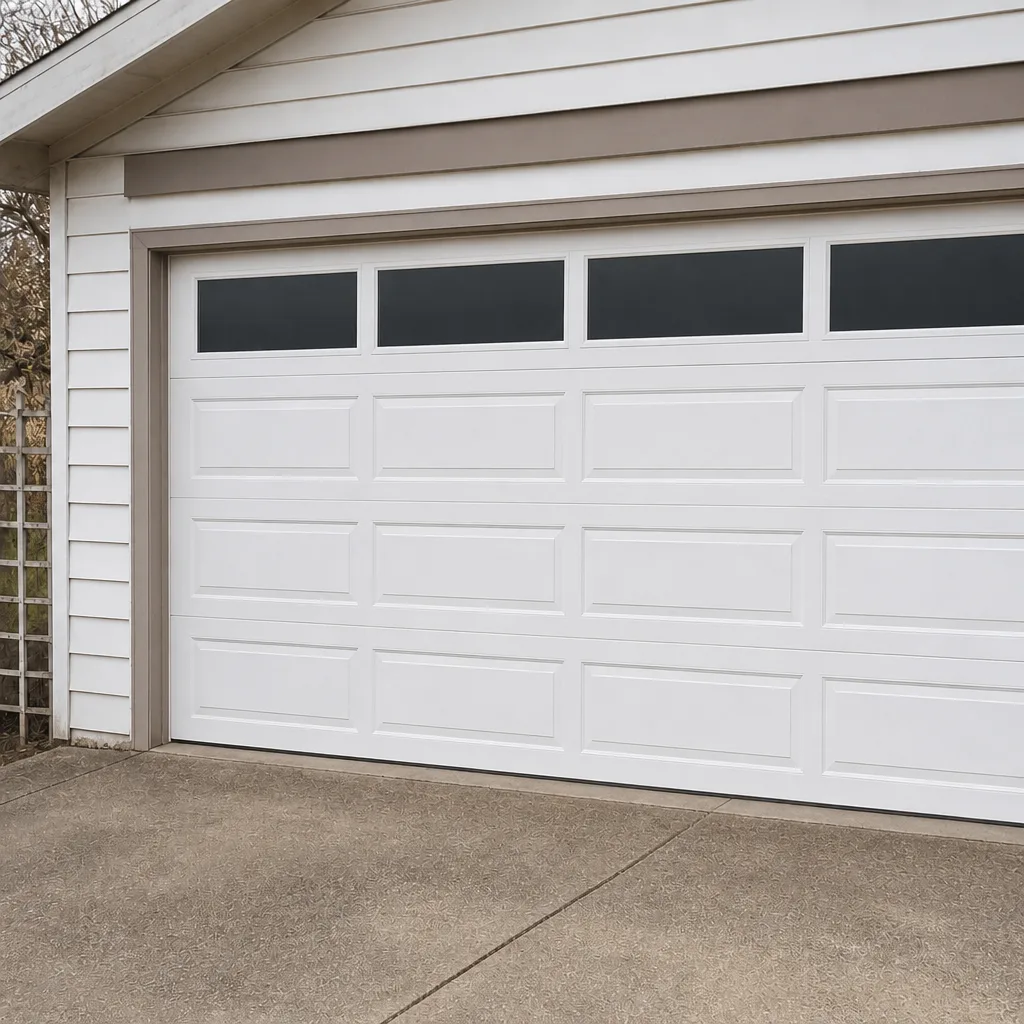 After
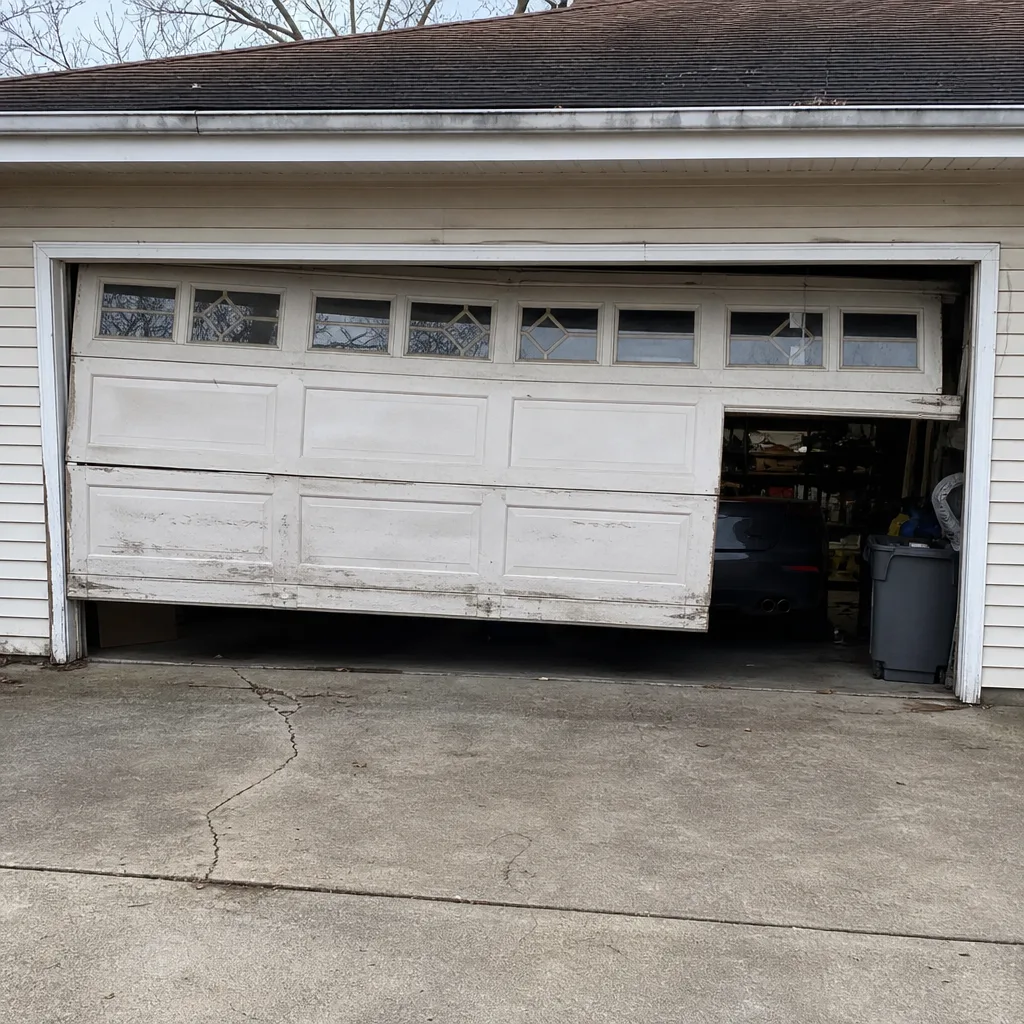 Before
 After
 Before
 After
When to Call a Professional
Call a professional when any of these are true: a spring has snapped or lost tension, a cable has come off its drum or frayed, a bottom bracket is cracked or bent, the door won’t reverse on the photo-eye test, the door is binding or visibly off its track, or the opener won’t respond reliably to the remote or the wall button. Those are the situations where continuing to use the door adds strain to the rest of the system, and where doing the work yourself puts you near high-tension hardware that’s not worth testing your luck with. If you’re not sure whether your issue qualifies, it’s worth a free look. Bramble Garage Door Repair offers free estimates in Rockford – call (855) 758-5321. We answer 24/7, with fast dispatch from 7am to 7pm, Sunday through Friday.
Frequently Asked Questions
Every six to twelve months for most homes, and twice a year for doors that cycle ten or more times a day. Lubricate the rollers, hinges, bearings and springs with white lithium grease or a dedicated garage door lubricant. Never lubricate the track, the panels or the bottom seal. Call (855) 758-5321 if you’re not sure which parts to hit – the estimate is free.
There usually isn’t a warning sound before a torsion spring snaps – the failure itself is the loud sound. What precedes it is a loss of balance, a door that drops or rises when you let go of it halfway up, or a door that’s stiffer to lift by hand. Rust streaks on the coil and a visible gap between coils are also signs. If any of those show up in Rockford, call before it breaks all the way. Call (855) 758-5321.
No. Springs, cables, cable drums and bottom brackets sit under high tension, and releasing that tension the wrong way can cause serious injury. Inspection by eye is fine – you can look along the cables and check the brackets for cracks. Adjustment and replacement are for trained technicians. Call (855) 758-5321 for a free estimate.
Usually a photo-eye problem or a force-sensitivity setting that’s drifted. Cold thickens old grease on the rollers, which the opener reads as resistance, and a dirty or misaligned photo eye reads as an obstruction. Wipe the lenses first, then test the force setting. If it reverses twice more, it’s a call. Call (855) 758-5321.
Yes – we work on all eight of those brands. Most homeowners already own one of them, which means we usually know the model family and the parts before we arrive. We work on that brand you already have, whether it’s a LiftMaster opener or a Clopay door. Call (855) 758-5321 for a free estimate.
Maintenance, in most cases, and by a wide margin. Most door problems – a tired spring, a failing hinge, a worn roller, a photo-eye that won’t line up – are repairs. The replacement conversation is usually for doors with cracked panels, structural damage or a decade-plus of deferred lubrication. Have us look first. Call (855) 758-5321 – estimates are free.
Your Opener and Your Door Are One System
Most of what goes wrong with a garage door is not the door and not the opener – it’s the relationship between them. A tired spring makes the opener work harder. A force-sensitivity setting that was correct in July pushes a binding door in January. A photo eye knocked out of line tells the opener the door is blocked when it isn’t. That’s why we treat the door and the opener as one system instead of two separate jobs. Garage doors are all we do, and we work on the brand you already have – LiftMaster, Chamberlain, Genie, Clopay, Amarr, Wayne Dalton, Craftsman and Raynor. Most door problems don’t need a full replacement. Our technicians have up to 8 years of experience, and we’ll tell you which side of that line you’re on before any work starts.
The Bottom Line
A maintenance checklist works when it’s aimed at the parts that actually fail and the sequence that actually reveals the failure. Lubricate the moving metal, keep the panels and the bottom seal dry, run the balance and photo-eye tests monthly, and do the force-sensitivity check every fall in Rockford before the first hard freeze. Look at the springs and cables, never touch them. Stop at the first sign of a snapped spring, a frayed cable, a cracked bracket or a door that won’t reverse. The fifteen minutes you spend on the monthly items is what keeps the repair from becoming a larger one. When you want a free estimate on the rest of the garage door repair, call Bramble Garage Door Repair at (855) 758-5321. We answer 24/7, with fast dispatch from 7am to 7pm, Sunday through Friday.
Written by the team at Bramble Garage Door Repair.